How to Ball Pizza Dough: Shape, Seal and Cover
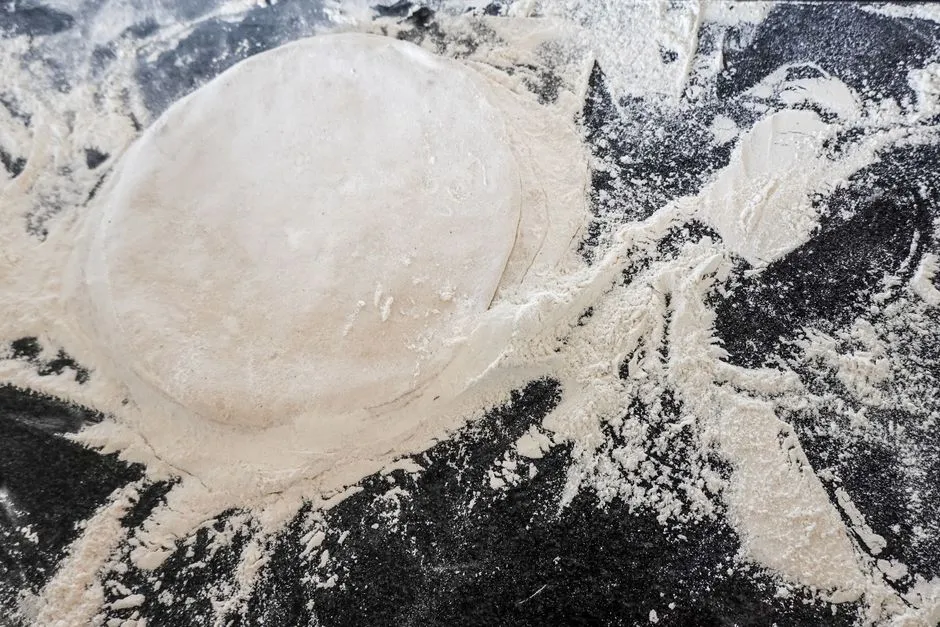
- How do you ball pizza dough?
- When should you divide and ball the batch?
- How much should each portion weigh?
- How do you gather the edges and place the seam?
- How tight should the surface be?
- How should the balls be covered?
- Can you stretch the balls immediately or reball them later?
- What food-safety checks apply at the shaping bench?
- What should you record for the next batch?
- Sources
How do you ball pizza dough?
To ball pizza dough, weigh the portions, tuck the edges underneath and round each piece gently. Keep the gathered seam below a smooth top, then cover the balls for the next stage of your recipe. Stop before the surface tears. Never taste raw dough, and follow its recipe or package storage instructions; shaping cannot make mishandled dough safe.
This is a handling guide for ordinary wheat-based, yeast-leavened pizza dough, starting with a mixed batch. It does not supply a new dough formula or fermentation schedule. Gluten-free dough needs its own method. The techniques below are desk-researched; we are not claiming to have tested a batch in your kitchen.
When should you divide and ball the batch?
Find the dividing step in the complete recipe before starting. Some methods divide after the first rise; others start with individual portions. King Arthur's round-pizza guide describes preshaping after bulk fermentation, meaning the first rise. Its point is practical: a rounded starting portion gives you a shape to maintain when you later open the pizza.
Do not move that step to a different day just because another recipe does. In your notes, identify the three events separately: mixing, balling and opening the base. “Made the dough yesterday” does not tell you whether yesterday's work included dividing it.
Before working, put the recipe beside a clean scale, dough scraper and suitable food containers. Know where the portions will go when you finish. If the recipe calls for refrigeration after balling, prepare that space first rather than deciding where to put a tray while it sits on the counter.
How much should each portion weigh?
Use the ball weight specified by the recipe for its intended pizza. A dough weight is not a universal diameter guarantee: choose the complete formula and opening instructions together. Ooni's preparation guide, for example, suggests 250 g balls for its beginner 12-inch pizzas. That is a named example, not a compulsory size for every style.
For an original weighing exercise, suppose the mixed dough actually on your scale weighs 1,040 g and you intend four equal portions:
1,040 ÷ 4 = 260 g per portion.
| Portion | First scale reading | Adjustment | Final weight |
|---|---|---|---|
| A | 275 g | Remove 15 g | 260 g |
| B | 245 g | Add A's 15 g | 260 g |
| C | 270 g | Remove 10 g | 260 g |
| D | 250 g | Add C's 10 g | 260 g |
| Total | 1,040 g | No change | 1,040 g |
This table corrects unequal cutting; it does not alter hydration or invent extra dough. Weigh the available batch rather than assuming that every gram originally mixed has left the bowl. If the available mass were 1,032 g instead, four equal portions would be 258 g. Record that actual weight instead of adding flour or water to hit the earlier total.
Tare the empty weighing container before adding dough. Make the small weight corrections before rounding each portion. The purpose of the example is to separate portioning from shaping: finish the arithmetic while the pieces are still pieces.
How do you gather the edges and place the seam?
Ooni's method brings excess dough underneath in the hands, then uses an inward pinching and rotating motion on a floured surface to make a round. Gather the loose edges below the top; they form the seam. Set that joined side underneath rather than leaving folds across the upper surface.
Use a light dusting where needed for handling. Do not turn balling into another full kneading session. You are organising a divided piece, not mixing the recipe again. Complete one portion and place it in its prepared container before starting the next.
How tight should the surface be?
Aim for an even round with a smooth surface, not the tightest ball you can force. In King Arthur's general bread-preshaping guidance, Maurizio Leo describes gently moving and rotating dough against the work surface so it catches slightly and develops tension. He stops with a smooth, relatively uniform top before the outer skin tears.
Support the piece with a cupped hand and use the scraper to guide it underneath in short movements, rotating between passes. Stop once the round is organised. This concerns handling, not sourdough proof times.
How should the balls be covered?
Cover portions promptly using the container and release treatment specified by your recipe. Leave room for their expected expansion. Keep the seam underneath and the upper surface protected while the next portions are shaped.
Red Star's yeast-baking troubleshooting guide specifically advises covering rising dough to prevent a crust forming. If a surface dries, check what covered it and whether that cover stayed in place. Adding more water to the next batch does not answer a missing-cover problem.
For an original four-ball organising method, label the containers A to D to match your weighing notes. Record the time the last portion was covered. If one container's lid was displaced, note which one rather than describing the entire batch as dry. Use food-contact containers suitable for the recipe's storage conditions, following their instructions.
Can you stretch the balls immediately or reball them later?
Recent shaping can make dough resist opening. King Arthur's pizza shrink-back explanation connects that resistance with kneading, folding and shaping. Its suggested first response is a covered 15-minute rest, longer if needed. Treat that as a reassessment point within the recipe's handling limits, not a universal final-proof time.
Reballing is another handling event. Record it, and allow for the fact that the dough may resist stretching afterward. Do not assume a reshaped ball is immediately ready, or that putting it into a neat round restarts its food-storage clock.
If the batch cannot hold together or its handling history is uncertain, repeated rounding is not an adequate answer. The pizza dough troubleshooting guide separates problems by stage. Use it to decide what needs checking before changing the whole formula.
What food-safety checks apply at the shaping bench?
Flour is raw food. The FDA's flour guidance says never to eat or taste raw flour or dough, including dough without eggs. Keep it separate from ready-to-eat food. Wash hands with soap and running water; wash utensils, containers and work surfaces with warm soapy water after handling it. Raw dough is not children's play material. Follow package cooking directions where provided; home heat treatment does not make flour safe to eat raw.
Follow your recipe's documented fermentation controls and the package directions for bought dough. The FDA's storage guidance specifies a refrigerator at or below 40°F (4°C). Discard suspicious or improperly stored food; normal appearance or smell does not establish safety. This shaping method supplies no extension to a dough's storage limit.
Keep balling at the preparation bench. For baking, follow the oven manufacturer's instructions and use its specified tools; equipment faults require the manufacturer or a qualified technician. The oven and fire collection covers that separate stage.
What should you record for the next batch?
Keep one short line per portion: actual weight, balling time, container, visible surface condition and any later reballing. Add the recipe name and version once for the whole batch. A useful note is “C: 260 g, rounded once, lid stayed on,” followed later by an observation about opening.
Avoid writing “good” or “bad” as the entire record. A smooth ball that later resisted opening presents a different question from a portion that tore during rounding. Make the next comparison about the observed stage. More dough guides can help you choose that next question without changing several things at once.